Ten Top Tips for Buying Winter Boots
Are you looking for new winter boots? This article is aimed at those buying their first pair, but hopefully seasoned winter warriors may still pick up a handy hint or two as well. Navigating the path to buying the right winter boot can be bewildering. Do you want single or double boots; is there still a place for plastics; what are B and C ratings? There's a lot of choice out there, and some pitfalls that are best avoided, so to help you find the right pair for you and your adventures I've compiled some top tips.
Before we start let's mention the most important thing of all - fit. We all have funny shaped feet, so if a particular boot doesn't fit you personally then nothing else matters - pick another pair.
1. Think what you want to do in them this winter
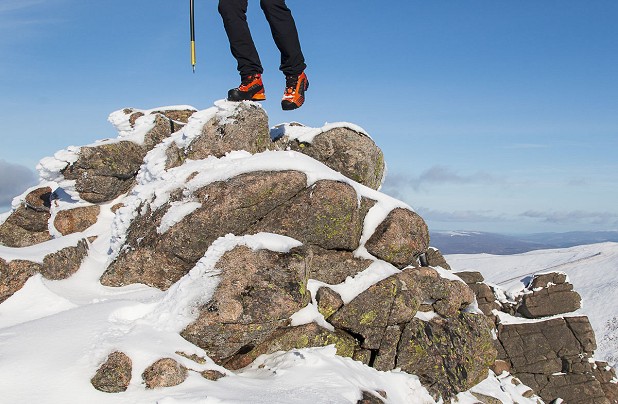
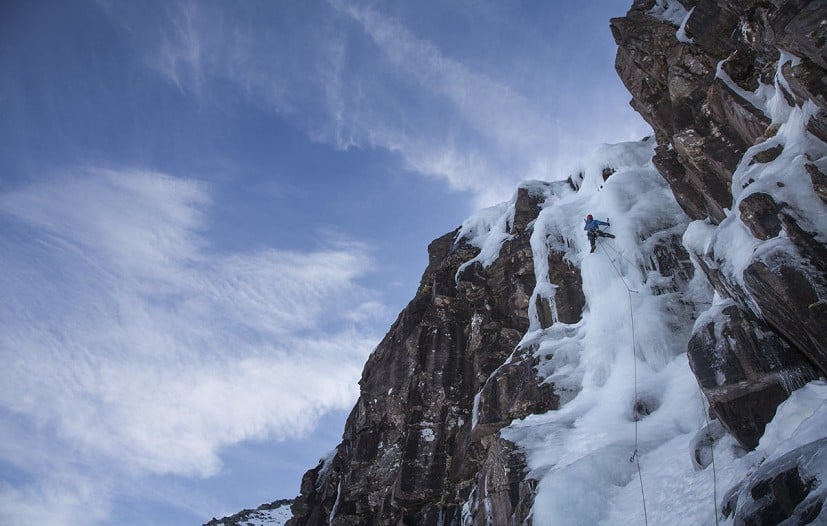
The first and most important thing is to decide what you want them for: Winter hill walking? Winter mountaineering? Winter climbing? Summer or winter Alpine climbing? High altitude mountaineering and climbing? All of the above? It's best to think long and hard about this before heading out to buy a pair. The old adage of 'jack of all trades, master of none' holds true for boots, as you can get one that will do it all, but only after a fashion.
Whichever end of the boot spectrum you aim at, you'll have to compromise on performance somewhere. A boot that's good for technical climbing may be less comfy for long walks, for instance, while a pair that'll keep you warm at high altitude is bound to be heavier and more expensive than something you'd choose for walking up a winter Munro. Once you've got a clear and realistic idea of your intended use then you can start zoning in on what sort of winter boots will be best for you.

2. Spend some money
'Buy cheap, buy twice' may be a cliche, but it's true. There's no hiding the fact that winter boots are expensive, but considering how much use you can get out of them over the years, it's a small price to pay. In summer it's easier to get away with budget kit, but winter's a different ball game so don't be afraid to splash some cash, because when you're out in a howling blizzard you won't be regretting it.
3. How stiff and climbing-oriented do you need it?
Boots come in a variety of stiffnesses, and to help get a measure of the differences the unofficial B-rating system is widely used:
- B0 Flexible three season boots designed for summer use.
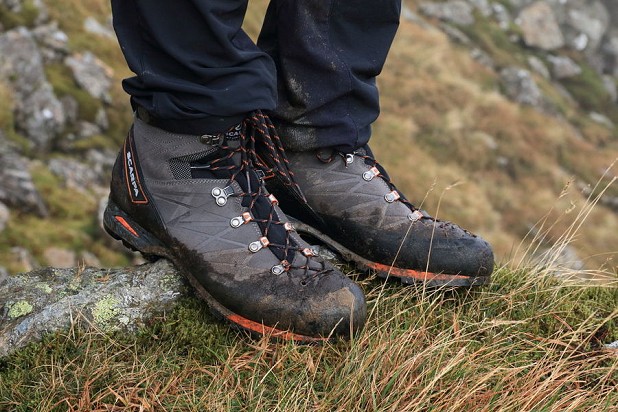
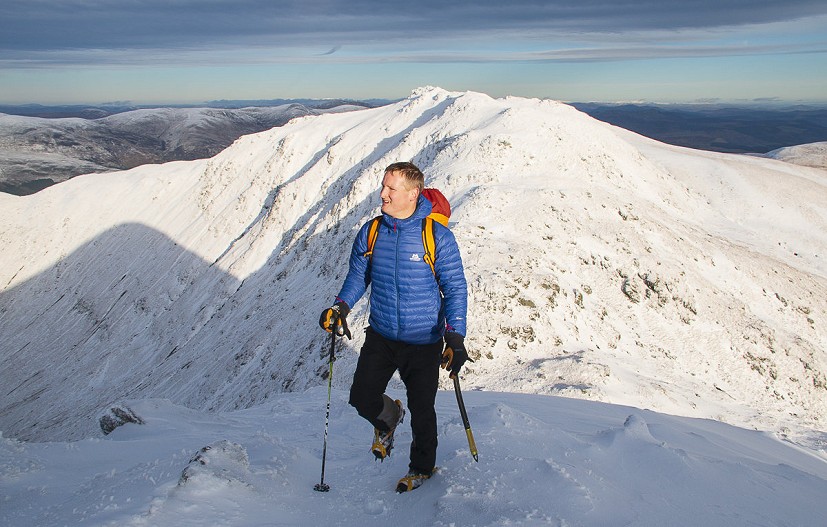
- B1 Four season hillwalking boots with a semi-stiffened midsole and a moderately supportive upper. Suitable for summer mountain use and simple winter hill walking.
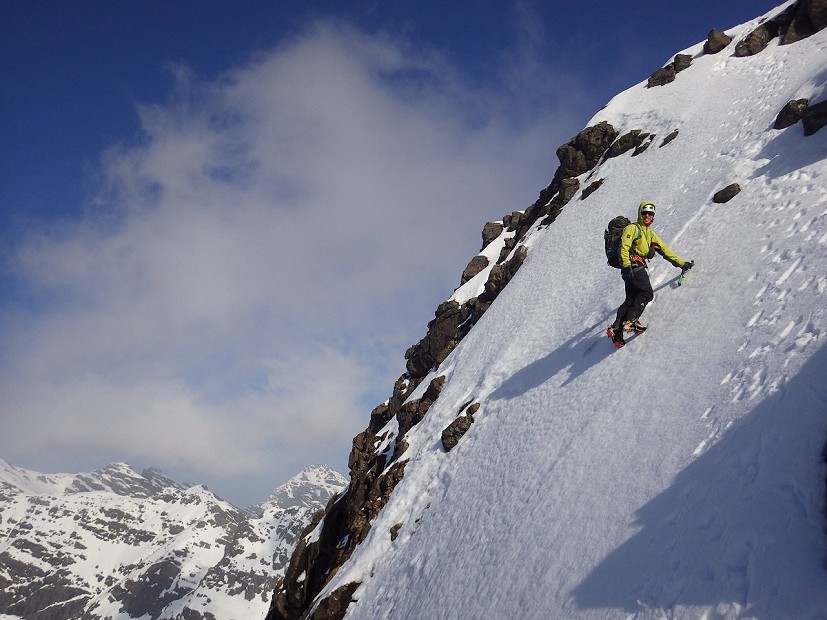
- B2 Four Season mountain boots with a nearly-fully-stiffened midsole a very supportive (and often warmer) upper. With just enough flex for a natural walking action, these are suitable for all winter walking, plus winter and alpine mountaineering, and may be sufficient on the occasional easy winter climb. Generally feature a heel ledge to combine with a crampon's rear clip, and provide good lateral support for traversing steep snow slopes. If you want a year-round, all-round mountain boot that can do a bit of everything then this is the ballpark to look in.
- B3 Fully rigid technical mountain boots, suitable for front pointing on steeper and more difficult winter climbing ground, but as a result often less comfy for other uses. Featuring ledges at both heel and toe, for compatibility with step-in crampons.
Over recent years the lines between these B-ratings have become blurred, and arguably some modern boots don't fall into a precise category. Therefore it's best to see these ratings as a rough guideline rather than a set of definitive rules. Some modern boots would fit much better into a B1.5 category, for instance!
If you have large feet then also bear in mind that the increased leverage on the sole may lead to more flex in the larger sizes of a given boot. Start front-pointing on mountaineering ground in a large pair of B2s and you may well experience more bend than you'd expected, while someone with smaller feet might be able to push the grade ceiling of the same model a bit further. In theory a B3 shouldn't bend at all, in any size, though in the larger sizes don't take that as gospel...
Provided you've already followed Tip 1 it should be a fairly simple process to decide, broadly, which category of boot is right for you. It might be tempting to buy a B3 boot, as it can be used for everything. This is only partly true. Inevitably a stiffer B3 climbing boot will not be as comfortable for long days of winter walking as B2 or B1 alternatives; it's also likely to cost and weigh more.
If you're a winter mountain generalist with deep enough pockets then the best solution is to have at least a couple of pairs of boots, one for walking and mountaineering days and another for technical climbing.
4. Consider crampon compatibility
Once you know the stiffness of your boot you'll need to establish which crampons will work with them. To complement the B-scale, crampons are often classified on a parallel C-scale. This has its limitations too, but can be a useful general guide, particularly if you're just starting out:
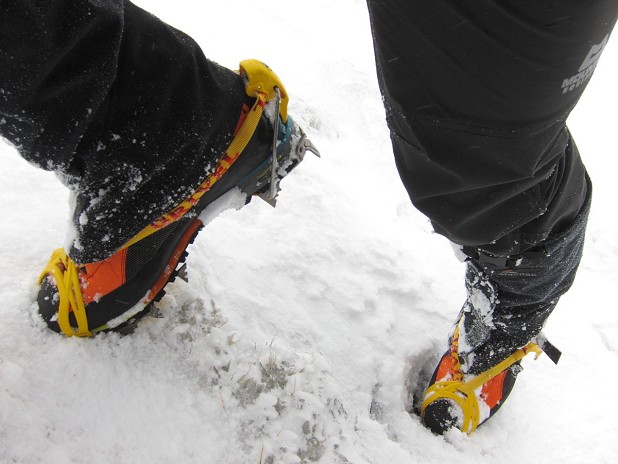
- C1 Strap-on, flexible crampons, often with 8-10 points. Suitable for winter hillwalking and easy alpine snow plods. Compatible with B1, B2 or B3 boots.
- C2 Articulated crampons with 10-12 points, usually consisting of a front cradle combined with a heel-clip attachment. Suitable for winter hillwalking, winter and alpine mountaineering and easier winter climbs. Compatible with B2 or B3 boots.
- C3 Full step-in crampons designed for technical climbing, with a toe bail and heel clip for a really secure fit. Suitable for climbing only, and not recommended for days out winter walking (though you can...). Compatible with B3 Boots only.
But it's not as simple as just matching the appropriate class of crampon to a given boot (when is life ever that easy?). In addition to this there are a variety of attachment systems, so do ensure, in a safe place well before you get out in the snow, that your particular boot and crampon combo will actually work together. For instance, only a boot with a heel ledge will be able to hold a C2 crampon with a heel clip; likewise only a boot with a ledge at the toe and a rigid sole (invariably B3s) will be suited to a crampon with a metal front bail. Depending on the shape and size of your boot sole, some crampons may fit your boots while others may not, so try it all out in the shop before you buy anything. If in doubt seek out professional advice when fitting crampons to boots.
5. Think about the style of boot
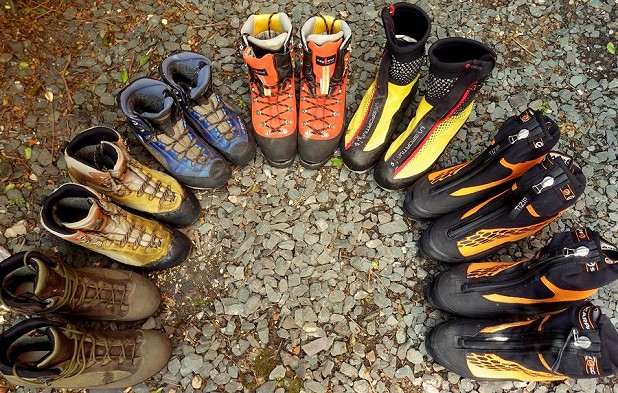
Winter boots in the B3 category generally come in two different styles, single or double.
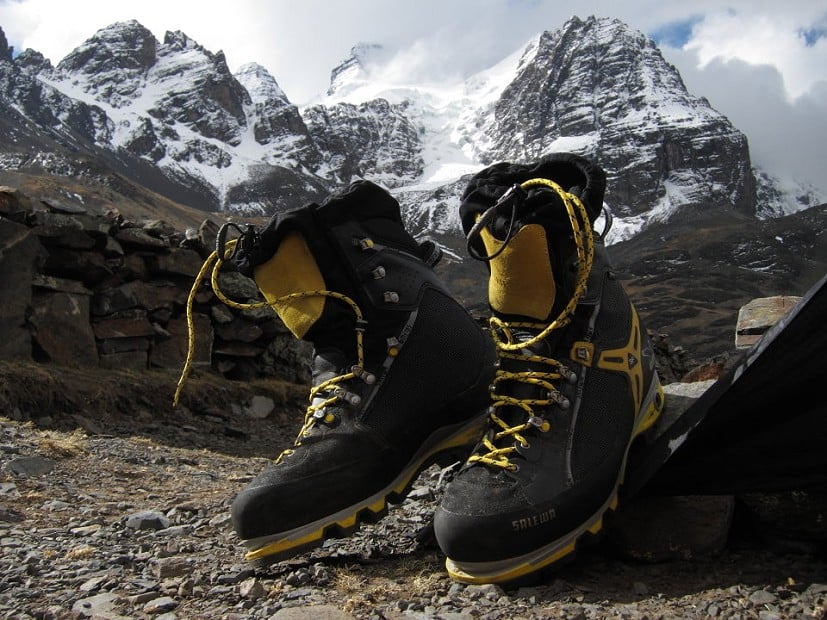
Single boots have just a one-piece upper, a design that now accounts for the vast majority of boots on the market. The upper may be made up of multiple layers and linings, and made of leather, synthetic materials or a combination of both. Almost all will feature a waterproof/breathable lining. Single boots are lighter than double boots and are more suitable for winter walking, general mountaineering and climbing in the UK as well as many routes overseas.
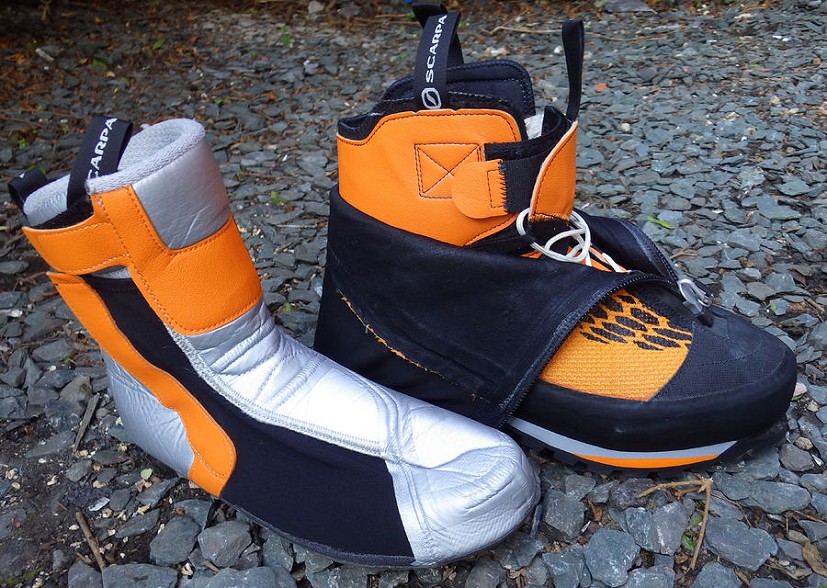
Nowadays more a specialist choice than the staple they once were, double boots are made of an inner and outer boot that separate. They tend to be heavier than your average single boot, however they are warmer too, and therefore good in colder climates such as high altitude or polar regions. They also have the advantage that you can remove the liner and dry it in your sleeping bag overnight, so are a well suited to multi day routes and expeditions. Plastic boots also fall into the double boot category and they have their advantages by being cheaper and more durable than other double boots, but you tend to lose some 'feel' underfoot when compared to a fabric boot. Once de rigeur, traditional double layer plastic boots are becoming a bit of a rarity these days.
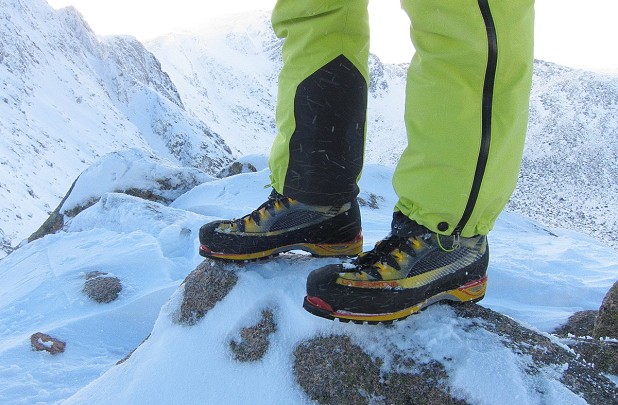
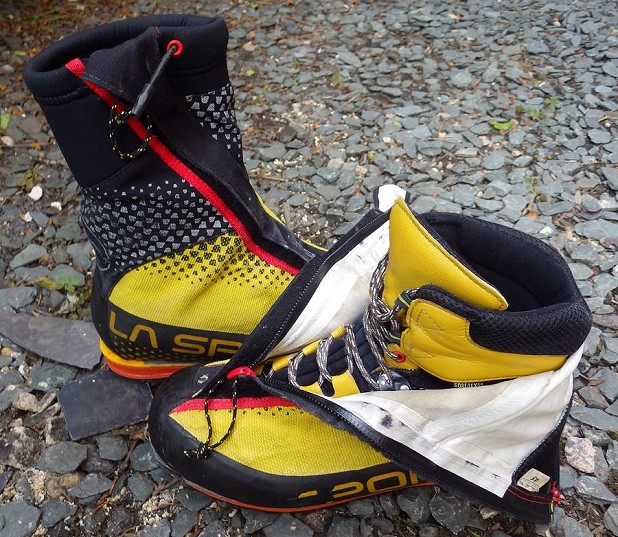
Lots of high-end boots now have integral gaiters and are a sort of hybrid between single and double boots. They comprise an inner boot, coupled with a permanently attached outer gaiter. The gaiter adds warmth and weatherproofing and protects the laces from abrasion and reduces the likelihood of snagging your crampons on them. They can however take longer to dry out once wet due to reduced air flow in and around the inner part of the boot.
6. Do your research
Once you've worked out what sort of boot you're after then it's time to get researching. Get on the internet and read what the manufacturers say, just the facts not the sales pitch. Read reviews on the boots you're interested in, ask friends about what boots they've used and find out the pros and cons of different makes and models. See what people say about the fit of a particular brand or model - are they generally wide or do they tend to come out on the narrow side? As a result of this process you should have narrowed down the field to a smaller selection of boots that you actually want to go and try on.
7. Go to a good outdoor shop - or better, several...
Pick a reputable outdoor shop, with a good selection of winter boots and knowledgeable staff (some big chains don't employ specialist staff). That way you'll receive good quality advice on which boots are best for you, along with a proper fitting service. If need be, head to a wide range of shops in order to try all of the boots you're interested in. Areas with several really good outdoor shops in close proximity are the best places for boot shopping - the likes of Keswick, Ambleside or Northern Snowdonia.
Time spent now is time well spent, as if you get it right then you won't have to do it again for years to come. Get it wrong, however, and you'll be back before you know it, now several hundred pounds poorer. Try to steer clear of buying boots online unless you know exactly what you want and are 100% certain of the fit because you've used them before. If not, it can become an expensive game returning boots by post to online shops.
8. Try, try, try before you buy
Try the boots as much as possible before you buy them. If a mate has a pair that you were considering buying, and they fit, then ask if you can try them out on the hill for the day. Alternatively consider hiring a pair - some outdoor shops offer this service.
There's nothing better than giving them a go on the hill to work out if they're right for you, but if you can't manage that then at least spend a good while in the shop. Ideally the sales assistants should be sick of the sight of you long before you've made up your mind - but never feel pressured to buy there and then!
Don't be shy: walk around the shop for ages. Test them on stairs and inclines, both uphill and down. Look out for any heel lift - you don't want your heel to lift/slide up when you walk as over time this will lead to discomfort and blisters. Experiment with different lacing configurations. Try hard to make your toes bang the ends (if they do so in the shop, then they definitely will on the hill!); kick a wall or a step, swinging your leg from the knee to imitate front pointing in them. When kicking you don't want your foot to slide forward so that your toes whack the front of the boot. If they do bang, then try going up a half/full size, but watch out again for heel lift.
When trying boots on its best to avoid going in the morning as your feet will be at their smallest. They swell in size through the day, sometimes increasing by up to a size. Take along the socks you'll usually wear in your boots so that you can get a realistic fit.
9. Add better insoles
Though winter boots are expensive they often come with the cheapest, floppiest, piece of foam posing as an insole. It's worth considering buying some proper insoles - your feet will thank you. However, this does mean an additional cost on top of buying the boots. It's worth experimenting and trying as many different insoles as possible. If you have any foot issues, then some custom-made orthotic insoles will pay dividends. Even if your feet are fine, some basic arch-supporting insoles (such as Superfeet) can make a difference to the fit of a boot and reduce the ache in your feet at the end of a big day on the hill. A supportive sole can even help give you a bit more room at the toe, by lifting the arch of the foot a little and thus preventing the foot from spreading so much.
10. Try them again!
So you've done your research. You've tried on lots of different models and have finally bought a pair. Now you are eagerly awaiting your first chance to use them. But wait! Are you really sure these are the right ones? It's always good to try them out again at home. Most shops offer a refund or exchange on boots, but only provided you haven't used them outdoors. So try them on lots at home, walk up and down the stairs, do the hoovering in them, sit at the desk all day in them, cook dinner in them - basically wear them a lot. After all that, if you're still certain of your choice then at long last it's really time to get out and play!
About Jake Phillips
Jake is the chief instructor at Adventure Expertise, based in Hathersage in the Peak District. He has been delivering training courses in hillwalking, climbing and mountaineering in the UK and overseas for the past 12 years. He holds the MIC qualification and during the winter months he can regularly be found instructing and coaching in the Scottish Highlands and Norway.
