Five Calorie-packed Home-made Hill Bakes
In terms of cost, nutrition, and taste, home-baked hill treats are leagues ahead of mass produced cereal bars and rubbery malt loaf, insists Fliss Freeborn. Try these easy recipes and we're sure you'll agree.
Some things in life require a high amount of effort in exchange for a depressingly low reward: filing your taxes, writing cover letters, or peeling very small onions. Then there are things which require a lot of work but have a large, immaterial bounty attached. Hillwalking, for example, or having children. Both come with the occasional dull moment, but with any luck will benefit you immeasurably in your old age.
But who am I kidding? We all know that the real winners in life are the low effort, high reward things. Things like listening to music, sunbathing, dabbling with recreational drugs in your early 20s, having a nice cup of tea, and oh yes! Taking homemade treats with you on your adventures because they're irrefutably better than whatever straw-held-together-with-glucose-syrup you'll be chewing through otherwise.
Yep, the only hill I am ever going to die on is that the effort-to-reward ratio of making your own portable snackage solutions is surprisingly high on the reward side of the equation. Oh, I'll just grab some bars at the shop on the way to the hills; that'll do, you said. Wrong. For half-an hour (or less) of hands-on time, which is the equivalent of five minutes of social media doom-scrolling, you can create yourself some incredible hill snacking options which trample all over cereal bars like a cat on a freshly dug flowerbed.
To help you reach hill-food nirvana, I've compiled these customisable bakes which are winterproof, backpack proof, and easy to make even if you're usually Captain Cack-Hand in the kitchen. These morsels of delight can boost morale on a wet and windy day or act as an incentive for someone who doesn't like hillwalking quite as much as you ("You can have a brownie when you get to the top, Christopher. Now stop complaining and give me a proper piggyback."). In simpler scenarios, these bakes will deepen the pleasure of what is already a nice way of punctuating our otherwise meaningless existence.
Choco-nut flapjacks
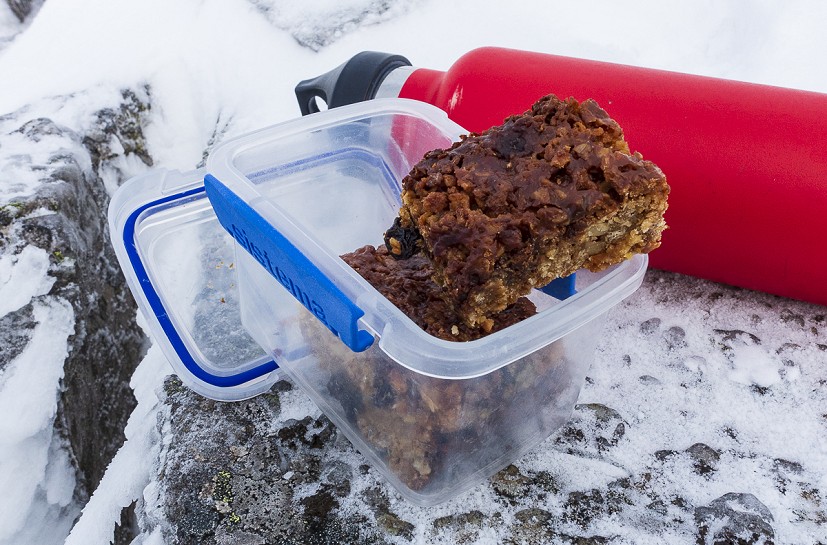
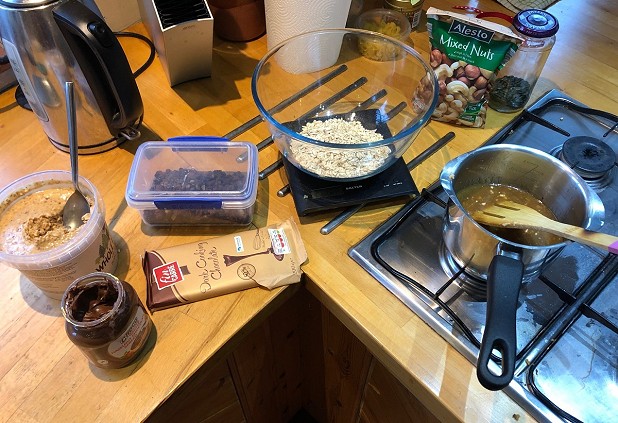
To start us off on a familiar footing, here is an entirely customisable flapjack recipe, enriched with butter, chocolate, dried fruit, seeds and nuts. It takes really very little time and effort to make, and you can add in or take away whatever you like, except butter, oats, syrup and sugar - or you'll end up with something quite un-flapjack-like and it'll all be a bit sad. I love the combination of chocolate and nuts, because I'm a very normal human being.
You'll need:
- 190g salted butter or butter substitute if you're vegan
- 115g Golden Syrup
- 100g sugar – I use soft light brown for a toffee-ish flavour but it's up to you
- 150g of porridge oats
- 60g mixed roasted nuts
- 50g of mixed seeds
- 100g chocolate chunks (white, dark, milk - up to you)
- 2 tablespoons of peanut butter – one to add in the mix and the other to melt and drizzle
- 2 tablespoons of hazelnut chocolate spread – likewise, 1 to drizzle and 1 to mix
- A handful of dried mixed fruit if you fancy it - dried cherries are great in this
Method:
Preheat the oven to 170 degrees fan, 160 degrees convection.
Melt the butter, sugar and syrup in a saucepan or in the microwave until the sugar has dissolved. Add in 1 tablespoon of peanut butter and one tablespoon of nutella and stir till combined. Stir in the oats and mix about for a bit, then set it aside to cool while you grease and line a small square baking dish roughly 20x20cm. The smaller the dish, the fatter and chewier the flapjacks, and vice versa. When the mix has cooled a little (you really don't want to melt the chocolate too much) add the nuts, seeds, fruit and the chocolate chunks, making sure everything is evenly distributed and pressed into the corners.
Bake it for about 20-25 minutes or until it smells incredible and the corners are looking that perfect golden colour and you can hear unicorns singing and the sun is shining.
Score it into squares as soon as it comes out of the oven, but do let the bastard thing cool down before you attempt to properly cut it. When it's cool enough to touch with the back of your hand, drizzle over some melted peanut butter and melted nutella if you like. Put the flapjack in the fridge to cool fully before slicing, then store it in some Tupperware or pop it straight into a ziplock bag for the hill.
Apple & cinnamon loaf cake
This moist little number is a breeze to put together and has the advantage of getting better if you leave it for a day or two. It also freezes nicely; I've been known to make a double batch of this and stow half in the freezer for the next weekend.
To make one squishy loaf cake, you'll need:
- 170g of soft brown sugar
- 110g of butter
- 1 large egg
- 125g of of flour
- 3 small eating apples, or 1 giant cooking apple
- A teaspoon of baking powder
- A teaspoon or two of cinnamon
- A teaspoon of mixed spice
- A pinchette of salt
Method:
Preheat the oven to 170 degrees and grease and line a loaf tin.
Using the coarse side of a box grater, grate the apples - peel and all - into a large bowl and spritz with a little lemon juice if you have any. Don't worry if not.
Cream the butter and the sugar together with a wooden spoon if you're hench, or an electric mixer if you're not. They should go light and fluffy. Add in the egg and beat the mix within an inch of its life. It doesn't matter if it's curdles - this isn't the GBBO tent and Paul Hollywood is probably busy anyway. Add the apples, followed by the flour, spices, and salt, stirring everything well until just combined.
Slap the mixture deftly into a loaf tin and bake it in the oven for around 40 minutes. It takes a while as it's just so moist. When it's done, allow it to cool in the tin and then slide it into a ziplock bag for later.
Bloody Beautiful Brownies
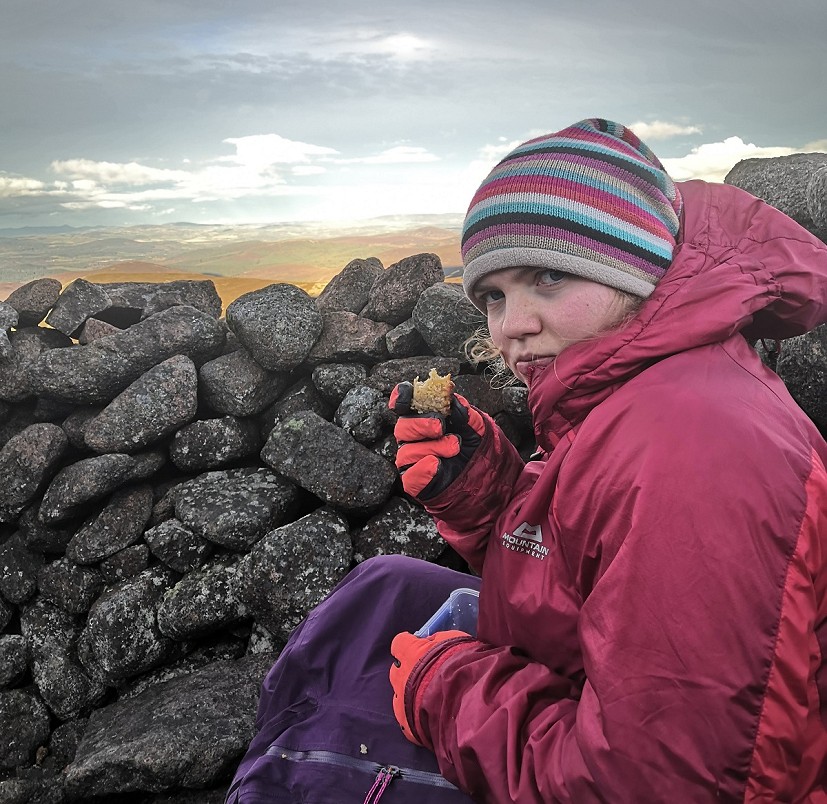
Thirdly, and perhaps my favourite recipe here, is a stupidly rich brownie recipe adapted from Nigella. This traybake has seen me conquer the An Teallach traverse in conditions slippier than a greased sea-trout, and provides a rich hit of sweetness alongside some essential fat from both the vast quantities of both nuts and butter. The only drawback is that you probably have to go shopping for some of the ingredients again because someone in your household will have eaten all of the dark chocolate and nuts before you can say "but I was going to put that in a brownie, you giant wazzock".
You'll need:
- 180g butter (you can use Vitalite if you can't tolerate dairy. Weakling.)
- 200g dark chocolate
- 3 eggs
- 2 teaspoons vanilla extract – please use this. It's lovely and really helps the chocolate sing.
- 230g sugar. I didn't have caster sugar this time, so I used 130g granulated white and 100g dark brown sugar, which also gave the brownies a toffee-like flavour, without being mega sweet
- 110g plain flour.
- 50 – 100g of milk chocolate, chopped into chunks – optional but smashing
- 65g of hazelnuts, almonds, walnuts or a mix of all of them. I toast mine first 'cos I'm extra, but it really makes a difference to the final bake
Method:
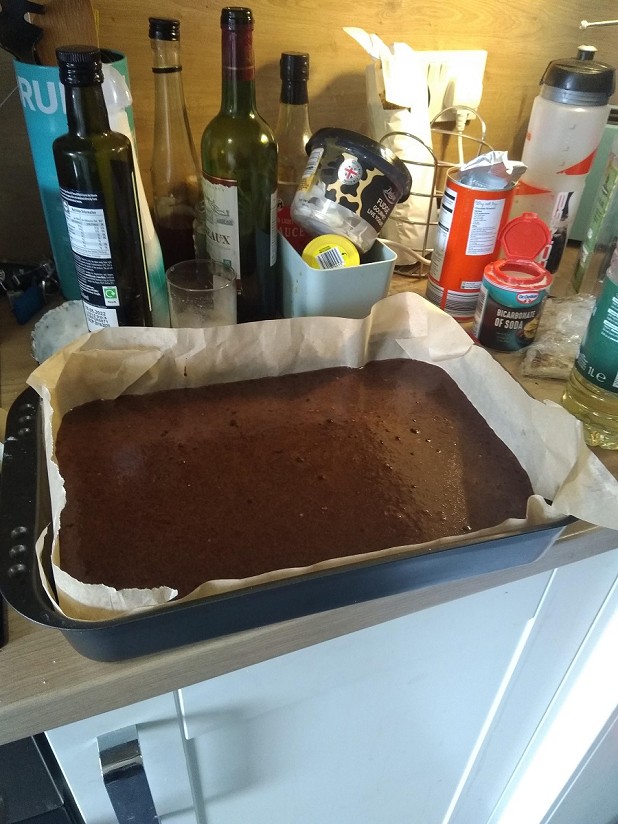
Find a square pan. Grease it properly and line it with some baking paper. Put your oven on to about 180.
Melt the butter and the chocolate in the microwave on 30 second intervals in a big bowl or jug, stirring a lot until it's smooth. This is quicker and less effort than doing it on the stove.
Put the sugar and eggs into a different bowl and beat them until they're nice and thick. I have a balloon whisk that was perfect for this but Any Spoon Will Do. When the chocolate mixture is cool enough to harbour life, add it to the eggs and sugar and stir gently. Add the vanilla and some orange zest if you fancy.
Sift the flour into the bowl and fold until it's all gorgeous and sumptuous and silken and all of the other euphonious adjectives. Add the nuts and chopped chocolate and give it all a final stir before pouring it lavishly into the tin and popping into the oven. Mine takes just under 30 minutes to cook but check it after 20. You're looking for a slightly soft and gooey middle, a bit like my own.
Leave to cool on the counter, then fudge it up in the fridge overnight.
Before you go away on your walkies, slice it into chunky chunks and pack safely into the top of your bag, comforted in the knowledge that if you do get lost or separated from your party, you'll have around 4500 calories of indulgence to sustain you until help arrives.
Fruited Tea Cake
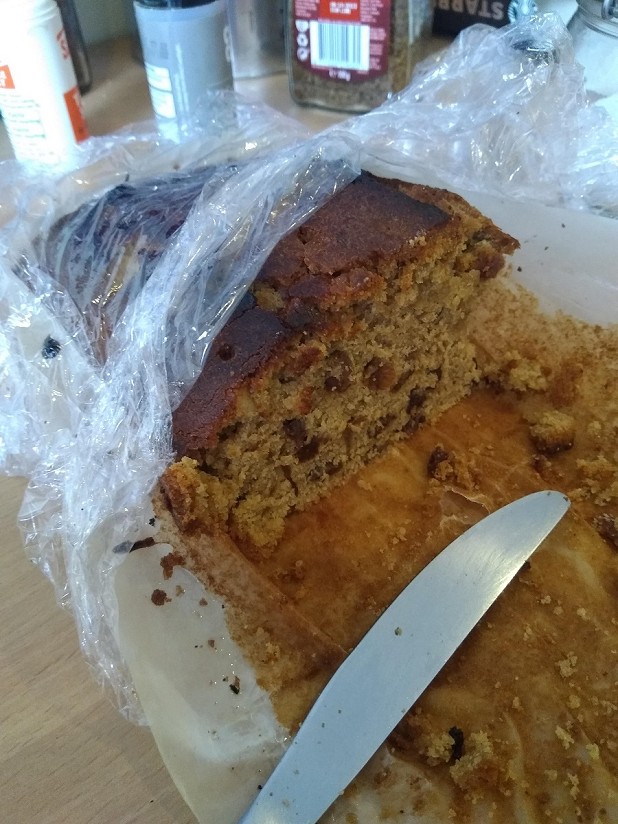
If there's one thing I'd steer clear of at the world's weirdest buffet, it's malt-loaf. I can't stand the stuff. But the fruitcake niche needs to be filled somehow, and luckily this lightly spiced option is perfect for taking up the hill with you and dishing out to people who still think they like Soreen. Similarly to the apple and cinnamon cake, this one also gets better with age. It's slightly sturdier than other cakes so does well wrapped in clingfilm and foil at the bottom of a rucksack if you're doing a multi-day adventure.
You can soak the fruit overnight in earl grey tea if you like, but if you a) forget or b) can't be bothered, then that's (borderline) ok.
You'll need:
- One of those 400g value bags of dried mixed fruit and peel
- A couple of earl-grey teabags if you're going to do some soaking. That or some whisky.
- 120ml of light-coloured oil
- 3 eggs
- 50ml of milk
- 125g of soft dark brown sugar
- 250g of either self-raising flour or plain flour with 2 teaspoons of baking powder added
- 0.5 teaspoons of ground cloves
- A pinch of salt
- A grating of fresh, or 0.5 tsp of ground nutmeg
- Orange zest (optional)
Method:
If you're bothering to soak the fruit (and yes, I highly recommend it to keep things that little bit more juicy and moist), then make about 500ml of strong earl-grey tea and pour it over the dried mixed fruit. You can add a dram or two here if you're into that. Leave it to steep overnight or while you're at work/uni/staring into the abyss for a good few hours.
When you want to make the cake, put the oven to 170 degrees centigrade and line a large loaf tin with greaseproof paper or one of those handy liner things you can get from the bargain store.
Put all the ingredients except the fruit into a large bowl and give them a good mix until properly combined. Add in the fruit and mix until evenly distributed. Slop into the cake tin and bake for around an hour, checking on it after 45 minutes. A skewer inserted into the very middle should come out clean. If it's looking quite brown on the top but still gooey underneath, put some tin-foil over it and pop it back in for 15 or so minutes.
While it's still warm, poke holes in it and brush it with some golden syrup if you like. This makes a nice sweet and soft crust after a few days. Once it's cooled, wrap it in some clingfilm and take it up the hill to bite into like a giant (but far superior) Soreen.
Layered Jammy Raspberry Crumble Bars
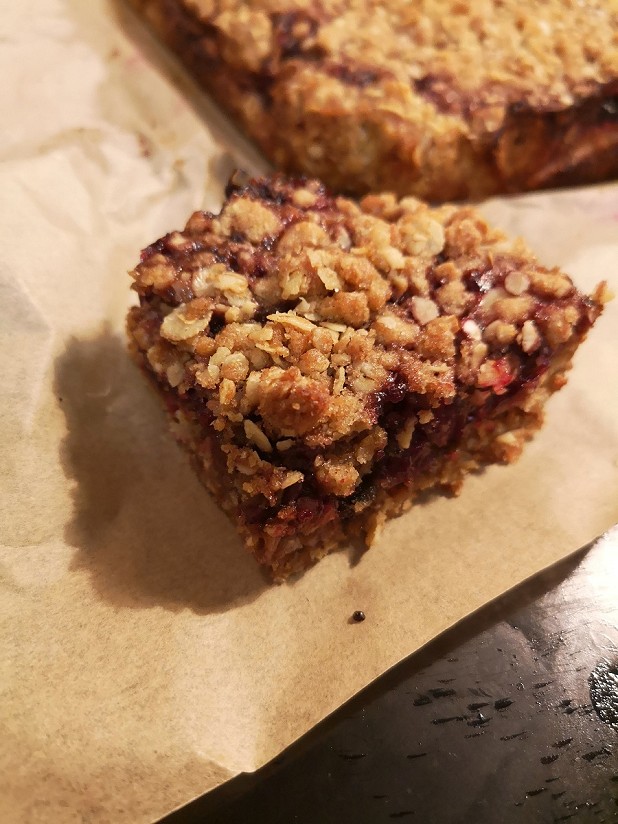
These are a great option for winter, as they hold together perfectly but stay nice and soft when you're trudging through what is essentially a massive freezer. They're also a little bit more tangy than some of the other options due to a fruity layer of raspberries laced through the middle of the crumble, making them incredibly moreish. They're an excellent motivator for the steep bits, I can tell you. You could use bought-jam for the layer in the middle but it's so much nicer with the homemade stuff (which isn't really jam but sort-of-could-be) because it's much more sharp and tangy to contrast with the buttery sweetness of the crumble layer.
To make these stunning raspberry crumble bars, you'll need:
For the base and topping:
- 230g porridge oats
- 190g plain flour
- 180g salted, melted butter
- 220g sugar (I always prefer brown)
- Half a teaspoon of baking powder
- A pichette of salt
For the jam layer:
- One 350-400g bag of frozen raspberries
- 50-75g sugar depending on your taste preferences
- The juice of a small lemon
- A teaspoon of cornflour
Method:
Put the oven on to 180 and line a square baking tin that's roughly 20x20cm.
Mix together all the ingredients for the crumble layer - it should look kind of clumpy and sandy at the same time. Press ⅔ of this mix into the baking tray.
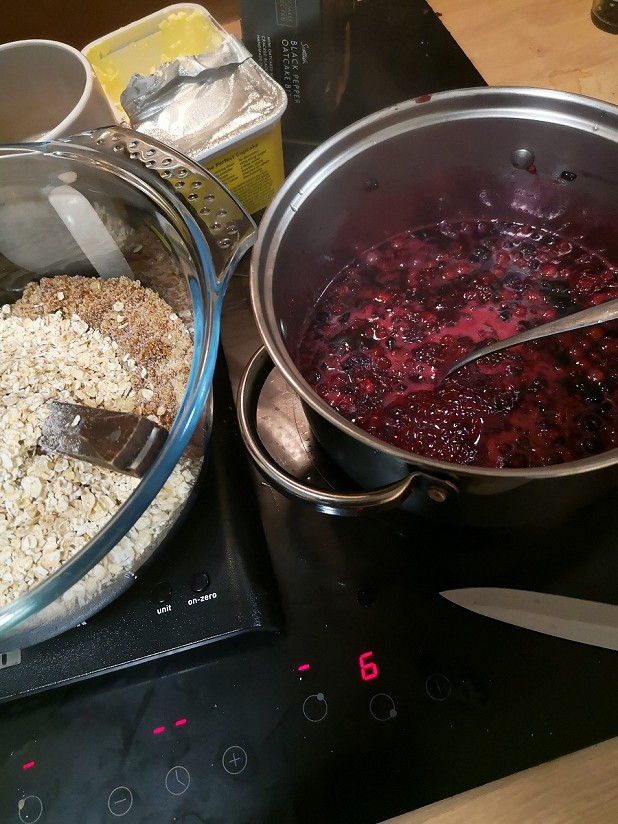
Next, empty your raspberries into a microwavable bowl and zap them on low power for about 5 minutes, or until they're defrosted a bit but still mostly cold. Pour out any excess water, then mix the raspberries with the sugar, lemon juice and cornflour while you bake your crumble layer for around 10 minutes.
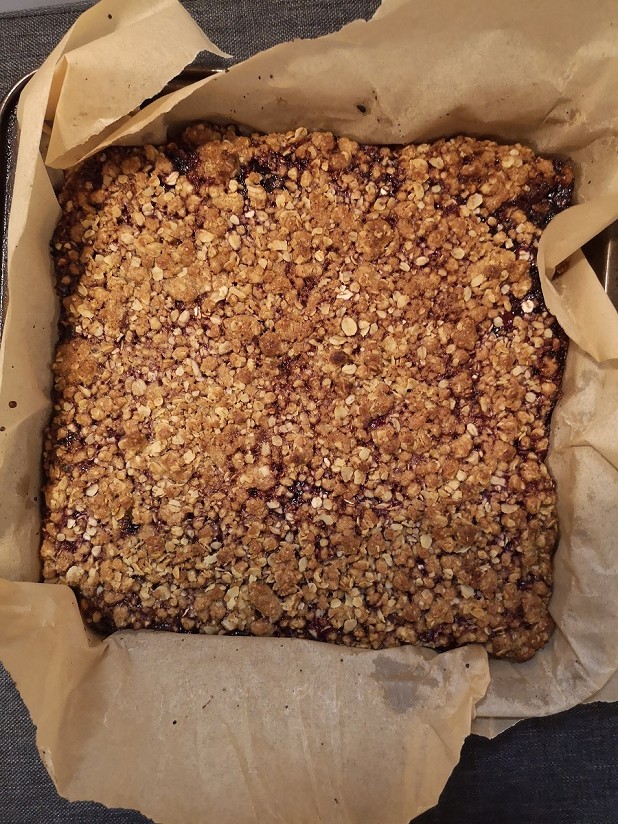
When the crumble layer is looking pale golden, take it out of the oven and spread the raspberries across it. Now sprinkle over the rest of the crumble mix and bake it for around 20-25 minutes, or until the raspberries are molten lava, and the crumble bits on top are going a robust shade of golden brown.
Wait to cool before slicing, then wrap and take with you on your walk for an oat, buttery delicious treat.
So, next time you're chewing through a cereal bar and wondering what the point of it even is, remember this list, and the beauty of home-baking in the hills.
See more from Fliss Freeborn in her foodie blog, StudentCuisineForTheGloomyTeen
